|
Homemade Champagne part II
In Part I we opened and sampled one of two test Champagnes. Much was learned in that first exploration and our scientific team, buoyed by the success, began preparations for a proper disgorgement exercise with the final bottle of Blackberry Champagne.
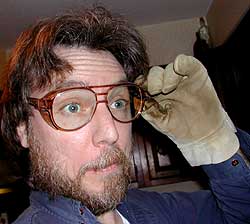
Proper protective gear is a must, since we have no means to verify the level of risk from shattering glass as we freeze an already highly pressurized glass champagne bottle.
Our head madman, er...disgorger, looks swanky as he demonstrates the proper eye and hand protection. The scraggly beard must also be providing some form of advanced protection, weaving an almost impenetrable mat to shield throat and face from flying objects.
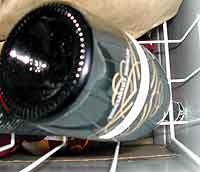
The first step in the initial preparations is placing the Champagne bottle in the chest freezer to begin freezing the thinner neck area. You'll remember that over the past months we have slowly assisted the yeast sediments into settling in the lid and neck area, the rest of the Champagne clarifying in the process. After an hour in the freezer long chains of ice crystals can be seen (but not photographed, dang it) in the neck area. We give it another ten minutes while preparing the next step.
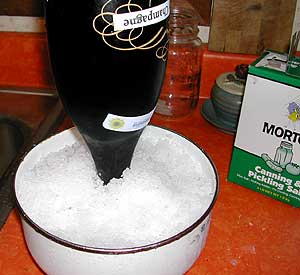
Not having a readily handy supply of crushed ice we instead turn to the banks of thawed and refrozen snow just outside. A bowl full of the crunchy snow-ice is then heavily laced with salt in order to lower it's potential temperature, much like you do when making homemade ice cream. With a temperature somewhere below freezing we let the bottle sit and spin for a while, further solidifying the ice in the neck. The goal is to get a nice, solid chunk of ice just in the neck which suspends the sediment long enough for us to extract it without mixing back into the Champagne. You'll note the stylish 1970's orange countertop, which were once matched, in a sick sort of way, by olive green appliances (now replaced).
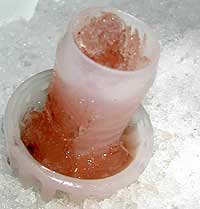
It's a pity that the thrill of science and the impending tension of danger kept us from photographing the actual disgorgement process in action. Suffice it to say that it involved many words and gestures better left off of film and print. With much grunting and twisting, running a little warm water over the neck, and then more grunting, we finally coerced said cork to depart the bottle in an orderly fashion. A small plug of ice accompanied it but not as much as expected, so either our freezing attempts were not sufficient or the grunting/swearing portion took too long. Close examination of the ice in the cap uncovered a thick layer of dark purple sediment, so we decided to call the process a complete success!
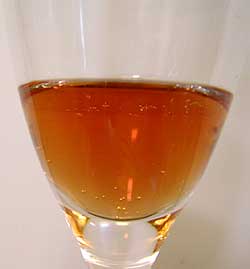
As you can see this small sample has a good clarity, although it's kind of tough to spot the bubbles. This Champagne was made from Blackberries picked in the nearby woods and it has a slight berry flavor to it, which gives it a hint of sweetness even though it is quite dry. After topping the bottle off with a little bit of white wine (causing much bubbling) it was then resealed with a new plastic cork and the cork secured with a wire cage. The finished bottle now goes into the "cellar" for further aging, maybe three to six months or at least until some grandly auspicious occasion warrants its unveiling.
Lessons learned:
- Use regular bottle caps for in-bottle fermentation period
- Don't put real labels on bottle until after disgorgement
- Maybe a little longer for the freezing period
- More salt in the ice, to the point of beginning melting I think
- Making Champagne is an involving process, make more than two at a time
The Jer Zone
|

